Migrating Content in Adobe Accounts
Licensing Model
Adobe has changed their licensing model from one that required a serial number for each instance where the software is installed, to a “Named User License” that grants the use of the Creative Cloud software to an individual user, based on a user name and password. With a named user licensing model, you may use the software on multiple computers, and through the Creative Cloud, you may also store and share projects, libraries and settings in a way that allows you to seamlessly work across many programs and devices.
With the named user licensing model, your UserID is tied to an e-mail address, and your cloud content is linked to that account. While most Creative Cloud Application data is stored directly on your computer, there are some cloud services and settings that are tied specifically to your email address. If your email address changes, you may want to migrate this content to a different account.
Graduating Students
Adobe has created a process for you to migrate your content to a free account so that you can keep all of your work. If you want to continue creating new content, you will need to maintain a personal subscription, but you can retain access to the work you have already created by visiting https://graduation.adobe.com.
Adobe offers graduating students a discount on Creative Cloud individual licenses for the first year after graduation for students who want to retain full creative access. Graduates will continue to have access to all the apps they had on campus, and can get this 40% discount by visiting this link after they have visited the site above to migrate assets to upgrade their free account to the discounted Creative Cloud All Apps license.
Migrating Content
Migrating content from one Adobe account to another is possible, but it is complicated. For most Creative Cloud files (Photoshop, Premiere, Illustrator, Dreamweaver, and other desktop applications, the content that you create using Creative Cloud is stored on your computer or hard drive and does not need to be migrated when you change your licensing.
If you use Libraries, Settings, Adobe Stock, or files stored online in Creative Cloud, this migration guide details the process and limitations for migrating content.
Adobe Stock
Do already downloaded Adobe Stock photos migrate?
Adobe Stock photos already downloaded from Adobe Stock and saved to the Creative Cloud Files directory migrate just like other assets. With this in mind, users should ensure previously licensed Stock assets are in the Creative Cloud Files directory.
Licensed Stock images are just like any other image file, but the rights for images licensed under a personal or Teams account are not as generous, and typically don’t allow for sharing of that file throughout the organization. We recommend that existing Stock users relicense previously licensed content through their enterprise account for the most safety in use.
Adobe Rush
Unless you are using a tool like https://graduation.adobe.com, Adobe Rush Project files do not migrate over directly if you change accounts. To save your content, you can either export your work as a video file, or open the project in Adobe Premiere Pro and save it as a Premiere project to retain access to raw project edits and effects.
Adobe Express
For Adobe Express, there is a lengthy process for migrating files, but it does work.
To move Express content between one account and another, you must "Share" the content between accounts, and then "Duplicate" the content into the account you want to copy it to.
If you are migrating Spark content from an Adobe ID to an Enterprise ID associated with the same email address, you must change the email address associated with your Adobe ID before you can share content in that account with the account associated with your Enterprise ID.
Sharing Adobe Express Content
The first step in migrating content is to ensure that the email address of the Adobe account that you want to share the content to is not the same email address as the Adobe account that you want to migrate the content from.
If you used your @unm.edu or your @salud.unm.edu email address as an Adobe ID before being assigned a license using the address as a Federated ID, you likely have two Adobe logins with separate content associated with each one. If this is the case, follow these instructions to migrate your Spark content to your Federated ID account.
- Using a desktop or laptop client, login to Express using your Adobe ID.
- Change the email address associated with the Adobe ID
- Navigate to https://express.adobe.com
- Click on “Your Projects”
- For each project, invite your @unm.edu or @salud.unm.edu address to collaborate on the Spark project Sign out of Spark
- Sign into Adobe Express using your Federated ID
- Click on the “Shared with you” tab
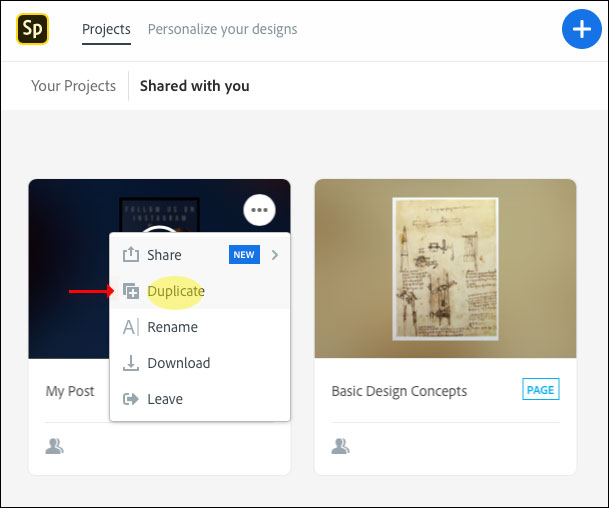
- For each project, click on the upper right corner of the project and choose “Duplicate”
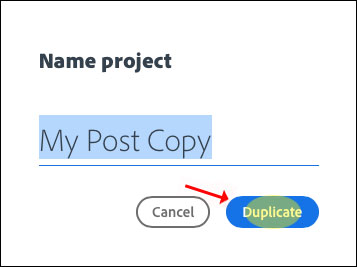
- Give the project a name and click “Duplicate” to save it to your Federated ID account.
Types of Accounts
Adobe offers multiple types of accounts that can be used for authentication. For personal accounts (the individual subscribes and pays for the subscription directly with Adobe or sets up a free account for access to Spark), users login using an Adobe ID.
Adobe ID: An Adobe ID can be created at https://adobe.com using any email address including an email address provided by UNM in general or the UNM Health Sciences Center. While Adobe IDs may be created using an individual’s UNM email address, an Adobe ID is not the same as a UNM credential that can be used to login to other UNM systems. Authentication using an Adobe ID involves the user entering their email address and password directly into an Adobe site or application.
Federated ID: Adobe supports the direct use of UNM credentials for signing into Adobe services. Beginning in the Summer for Main campus students, and the Fall for HSC students, Adobe users were assigned permission to use Adobe applications using their UNM email address (@unm.edu, @salud.unm.edu, etc.) and password. Authentication using a Federated ID redirects the user to login at a UNM/UNM HSC site before accessing Adobe services.
Account Assignment
Depending on the Individual’s role at UNM and the way that they were given access to Adobe services, they may have more than one login to Adobe services, including an Adobe ID associated with their UNM email address, an Enterprise ID associated with their UNM email address and credentials, or an Enterprise ID associated with their UNM Health Sciences Center email address and credentials. Each of these accounts have different application permissions, settings and cloud content associated with them.
Logging into Accounts
Using an Adobe ID
To log into an account associated with an Adobe ID, follow this process:
- Visit https://spark.adobe.com
- In the top right corner of the page, click on the link to log in.

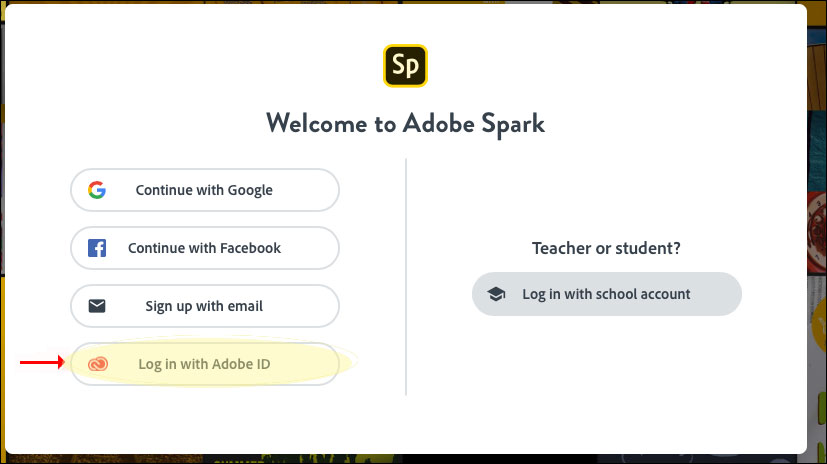
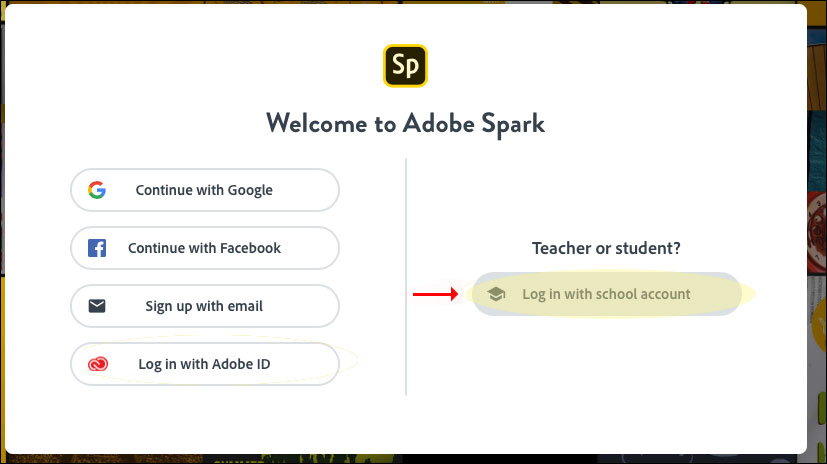
- Click on the link to “Log in with an Adobe ID"
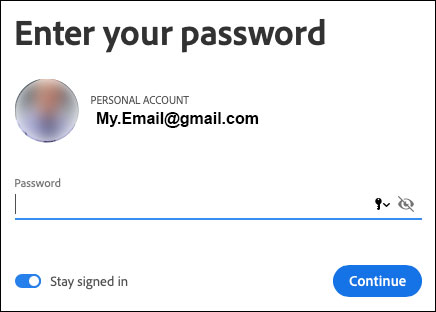
- Enter the email address associated with your Adobe ID.
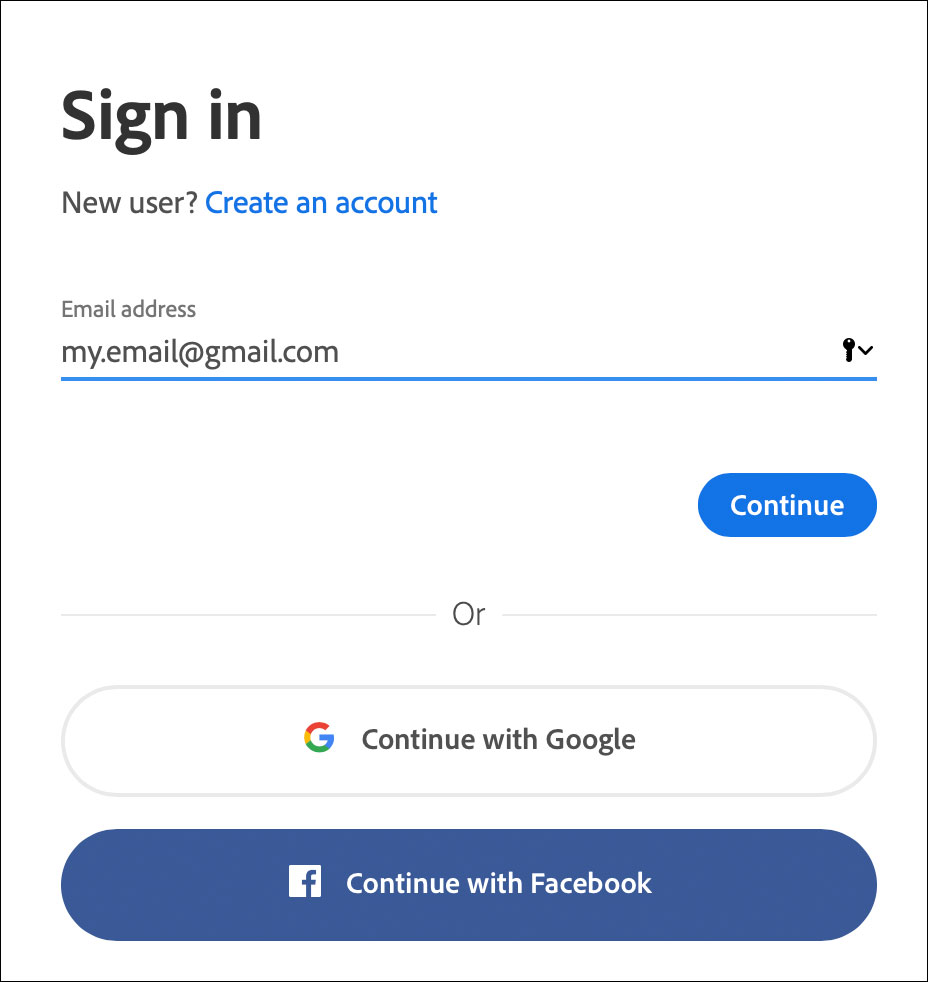
- Enter the password associated with your Adobe ID.
Using an UNM NetID Federated ID
To log into an account associated with a UNM NetID Federated ID, follow this process:
- Visit https://express.adobe.com
- In the top right corner of the page, click on the link to log in.

- Click on the link to “Log in with school account"
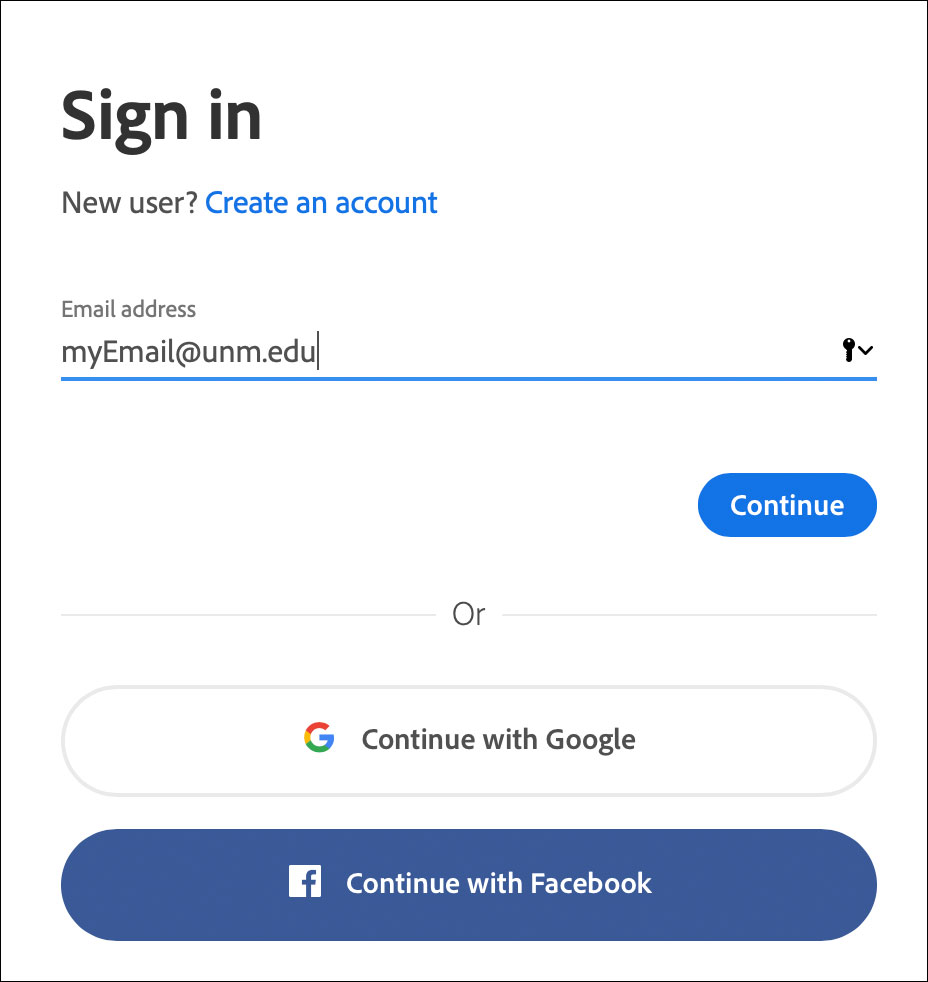
- Enter your NetID@unm.edu email address and click "Continue"
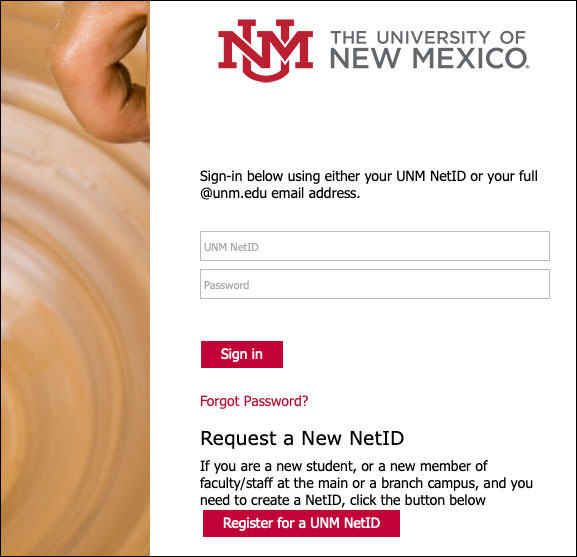
- You will be redirected to UNM’s LoboAuth authentication service. Enter your UNM email address and password.
Using a HSC ID Federated ID
To log into an account associated with a HSC ID Federated ID, follow this process:
- Visit https://express.adobe.com
- In the top right corner of the page, click on the link to log in.

- Click on the link to “Log in with school account"

- Enter your HSCID@salud.unm.edu email address and click "Continue"
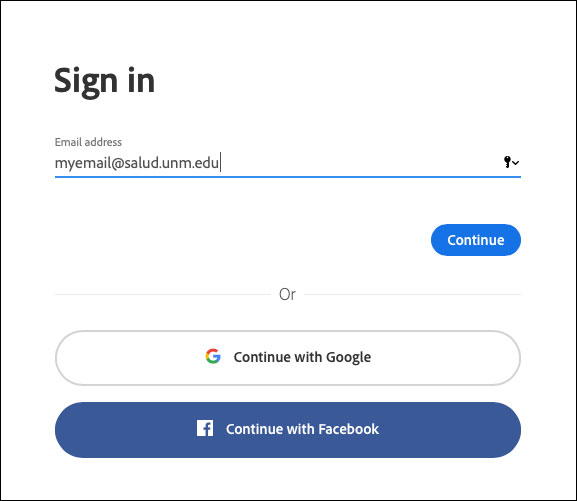
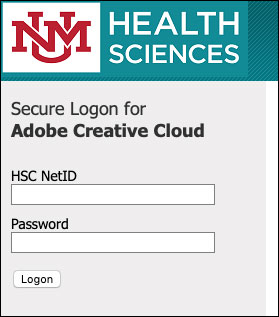
- You will be redirected to UNM Health Sciences Center authentication service. Enter your UNM email address and password.
Changing your Email Address for an Adobe ID
Instructions for how to change the email address associated with an Adobe ID can be found here: https://helpx.adobe.com/manage-account/using/create-update-adobe-id.html
